Italeri 1/35 Crusader Mk. II
Background
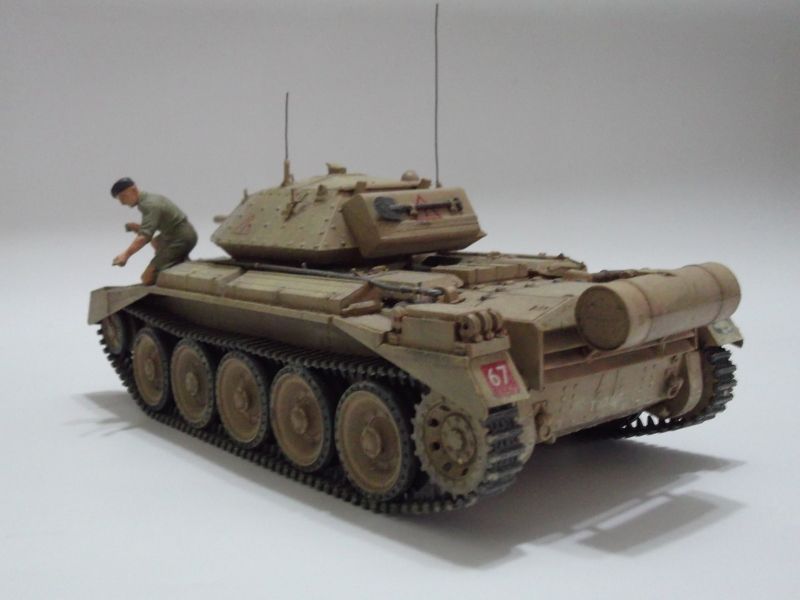
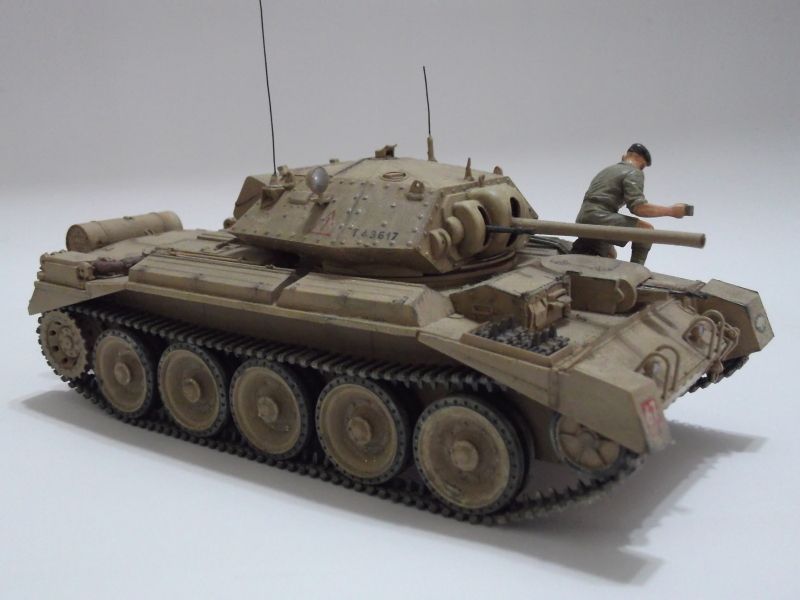
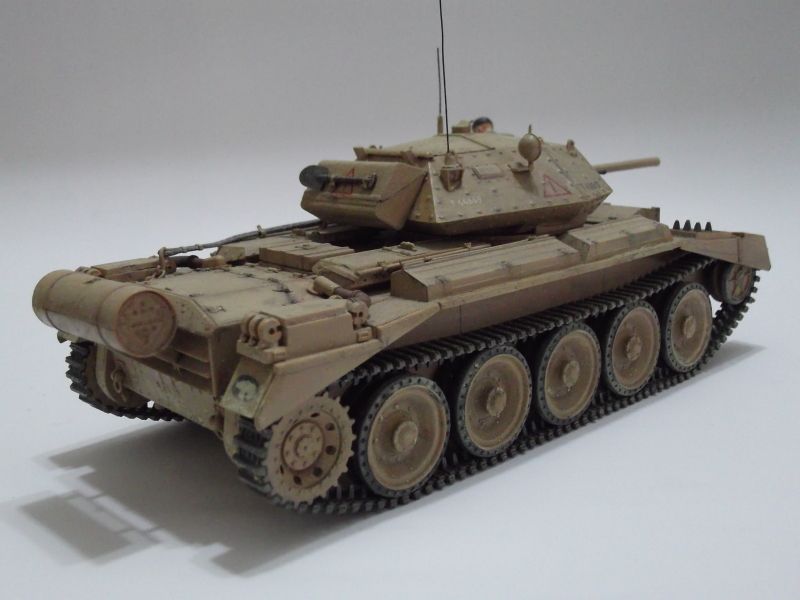
The British Tank, Cruiser, Mk VI Crusader was one of the most important tanks during the North American campaign. It was designed by Nuffield Mechanisation and Aero Ltd in parallel with Tank, Cruiser MK VI Covenanter. The Crusader was part of of the lineage of British cruiser tanks, from Cruiser Mk I to the post war Centurion. Unlike earlier cruisers, the Crusader was fitted with five roadwheels for each side in order to improve weight distribution. The first two marks of the Crusader was armed with Ordnance QF 2-pounder/40mm gun - effective only against the early marks of German tanks until replaced with the Ordnance QF 6-pounder/57mm in the Mk III. The early mark Crusaders can also be distinguished by an auxiliary turret on the left hand side of the front hull. Armed with a Besa 7.92mm MG, the turret was awkward to use and traps propellant gases inside the tank. In practice the turret was usually removed in the field or left unoccupied.
The Crusaders were first used during Operation Battleaxe in June 1941, losing numbers of them to enemy anti-tank fire and mechanical failure. Although faster than the Axis tanks, the Crusader suffered a number of drawbacks. Chiefly they were only issued with AP shells (so that the gun cannot be used against unarmoured and exposed targets such as anti-tank guns and their crews), thin armour, the design of the turret which created shot traps and mechanical unreliability. As combat tanks, the Crusader served until the end of the North African campaign but was increasingly replaced by the American Grant and Sherman tanks. Later on the Crusaders were converted into mobile AA gun platform and gun tractors.
The Kit
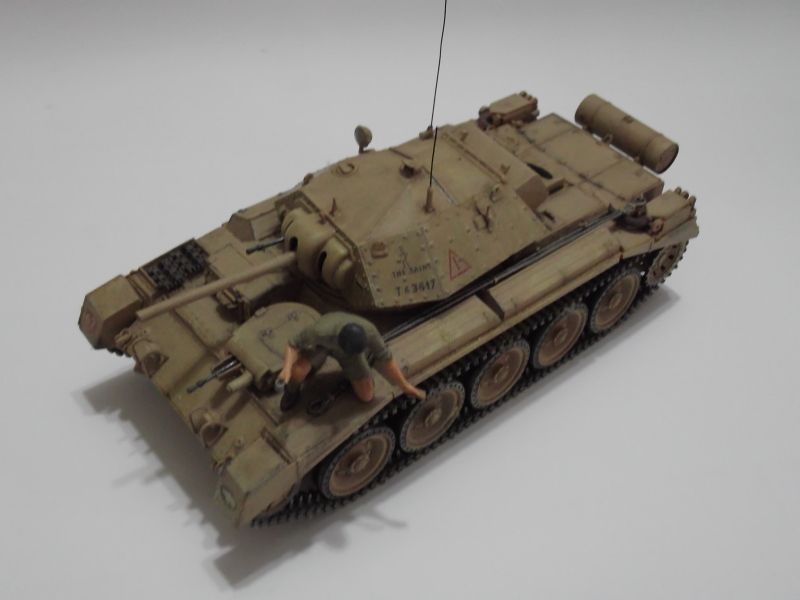
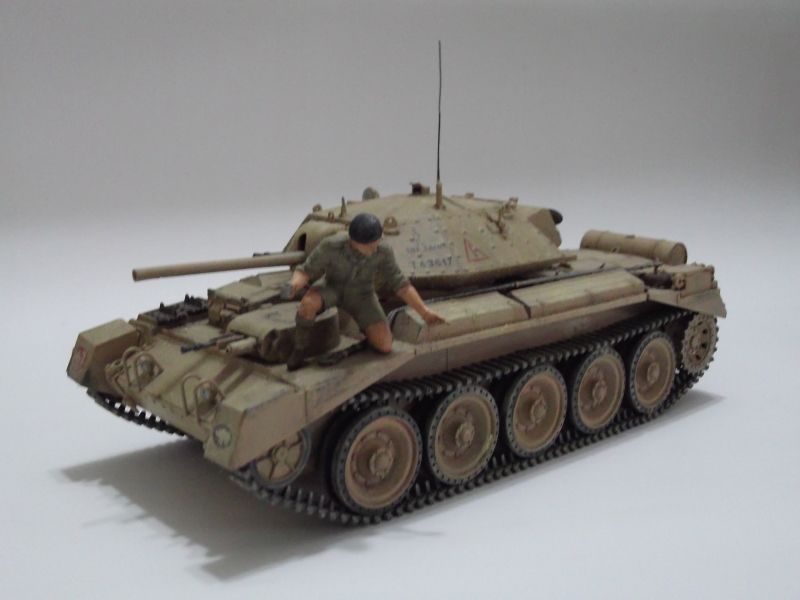
Italeri came out with this kit in 2001 as 'Crusader Mk II' on the box and 'Crusader MK I/II' on its instruction sheet. Moulded in desert sand colour, the parts have crisp details although not to the level of Far East companies. There are no details inside the turret although there is quite good detailing for the auxiliary one (why?) There were also no figures and the markings are only for one tank, nicknamed 'The Saint'. No info was given as to the 'ownership' of that particular tank. Checking on the internet however showed that that particular tank belonged to the 10th Royal Hussars Regiment of the British 1st Armoured Division in North Africa. Track is of the 'rubber-band' type and quite stiff.
Construction
Construction is easy and pretty straightforward. Fit is generally very good although there are a few areas that needs filling and sanding. I choose not to open the turret hatch so that the empty interior is hidden. Anyway, when the gun mantlet is glued, you can still peer straight into the (empty) interior! The rest of the kit is built to the letter (even though online reviews stated that the kit is actually a mish-mash of Marks I and II Crusaders). The gun is overscale since the actual 2-pounder/40mm is rather small (especially when I put the Crusader next to my new-mould Tamiya Matilda and even Italeri's own Staghound armoured car). Another complain is that the tow cables are unconvincing, however they are pretty soft so that they can be persuaded to conform to the contours of the tank (but still looks unconvincing!). The thick plastic radio aerials were replaced with copper wire.
Since the detail is nowhere the level of Dragon kits, assembly is pretty quick and it's off to the paint booth.
Painting and Decaling
The tank was painted XF59 Desert Yellow overall. The MGs were painted XF69 NATO Black and once dry, rubbed with graphite powder. Tracks were painted XF64 Red Brown. Once everything is cured, the tracks were mounted onto the chassis. Since Crusaders have 'dead' tracks and that the kit tracks is stiff , I superglued the top run onto the roadwheels. The tank then was ready for the decals. As I mentioned before, there is only one set of markings. The decals are actually quite nice and it settles with help from Mr Softer. The tank was then subjected to the usual wash process, followed with some weathering, mainly the application of 'dust' using Tamiya Weathering Master.
Figure
There is no figure included in the box. Of late however I like to add figures to my models for scale effect. The figure used here came from Masterbox's Commonwealth AFV Crew set. I chose the one in the pose of passing/offering something (ration or cigarette pack). He was painted using techniques shown in the Track-Link website which I modify a bit to suggest tan (he's in the desert, remember?). The figure was then placed onto the left glacis plate of the model.
Conclusion
This is an easy kit to build, a perfect follow-up to a 600+ part Dragon kit you have finished before!