Historical Background
In 1941, in order to further improve the performance of its fighters, the Regia Aeronautica decided to licence-produce the German Daimler-Benz DB 605 1,475-hp liquid-cooled, supercharged inverted V-12 engine, which Fiat produced as the RA.1050 R.C.58 Tifone (Typhoon). Aircraft manufacturers were invited to submit their designs using this engine as 'Series-5 Fighter' and imported DB 605s were provided for prototype use. Macchi's submission became the C.205, using the C.202 as starting point (the other entries were Reggiane's Re 2005 Sagittario and Fiat's G.55 Centauro).
As Aeronautica Macchi had used the closely comparable (in size) licence-built DB601 in the C.202, the existing airframe can easily be adapted for the new engine. The C.205 was basically similar to the C.202 but with some differences: the tail and was larger, the aerial mast was bigger (in Serie III) and the cockpit and hump redesigned. It was designed mainly as an interceptor but with good escort and ground attack capabilities. The main production version, C.205V was first flown on 19 April 1942. It was however considered a stop-gap measure pending the definitive C.205N with bigger wings to improve better performance at high altitude (the latter did not see service eventually). The C.205 (named Veltro or Greyhound) was armed with two 12.7mm Breda-SAFAT machine guns in the nose. Early production aircraft (Serie I) was also armed with two 7.7mm machine guns in the wings. Later production aircraft (Serie III - there was no Serie II) replaced the wing machine guns with 20mm cannons.
The Regia Aeronautica placed an order for 250 C.205s and the first Veltro left the production line in September 1942. However due to the complexity of the manufacturing process coupled with the shortage of engines and strategic materials, Aeronautica Macchi only managed to complete the Serie I production of 100 aircraft in June 1943. By the time of the Armistice in September 1943, only 77 Serie IIIs were delivered. The Veltro entered service in February 1943 with the 1° Stormo the first unit using it in action in late April 1943. In their first combat the Veltros gave good account of themselves against the more numerous P-40s and Spitfires. Whilst it performed well, the armament for the early Veltros remain inadequate especially when used against bombers. At the time of the Armistice on 8 June 1943, there were only 66 C.205s left in usable condition. Six of them escaped to the south and joined the Italian Co-Belligerent Air Force and another 29 fled north to join the Aeronautica Nazionale Repubblicana. Macchi managed to complete another 72 Serie III aircraft until the factory was put out of action by American bombing in May 1944. The Veltro also served with the Croatian Air Force and the German Luftwaffe. Post-war, the Veltro was used by the Aeronautica Militaire Italiana until 1951 and it was also exported to Egypt with the aircraft coming from ex-Italian stocks and also by upgrading C.202s to C.205 standard.
The Kit
The Kit
This kit is the first of Hasegawa's Veltros, being released in 1995. Upon opening the box, the content looks very familiar - it was virtually the same sprue and parts found in Hasegawa's C.202 kit with only the lower cowling, prop blades and spinner being new. The fuselage halves was redesigned to incorporate the Veltro's retractable tail wheel. Looking at the parts breakdown, which includes wing cannon barrels, Hasegawa has intended for multiple release using the same mould (which they did). The kit is of typical Hasegawa quality with nicely engraved panel lines. Decals were printed by Cartograf and provides markings for two aircraft.
Construction
Where else to start building an aircraft model than the cockpit? Hasegawa provides a nice enough cockpit although detailers might want to add PE parts or substitute it with resin. The interior was painted Tamiya XF-21 Sky which to my eyes looked similar with the Italian Verde Anticorrosione. The seat was painted Mr. Color 8 Silver. Hasegawa did not provide seat belts and the seat looked real plain inside the cockpit. The instrument dials can be painted or one can use the decals provided - I chose the latter option. Before closing up the fuselage, I enlarged the slots for the exhausts as per the instructions. Then the cockpit assembly and a part for holding the propeller were inserted into their respective slots and the fuselage closed up. The upper cowling, air filter and horizontal tailplanes were then added. Fit was good for all these parts.The wing assembly were next, no issues here except that the members of an internet modeling forum mentioned that some panel lines need to be smoothed over as they were not present on Serie I aircraft. I however found out about that only after the painting stage, so the panel lines remain. afterwards I glued the lower cowling to the fuselage. there is just a little fit issue but easily dealt with putty and sandpaper. the last part attached at this stage was the underbelly radiator. The wheel wells and the inside of the landing gear doors were painted RLM 76 Lichtblau before the main painting sequence.
Painting and Decaling
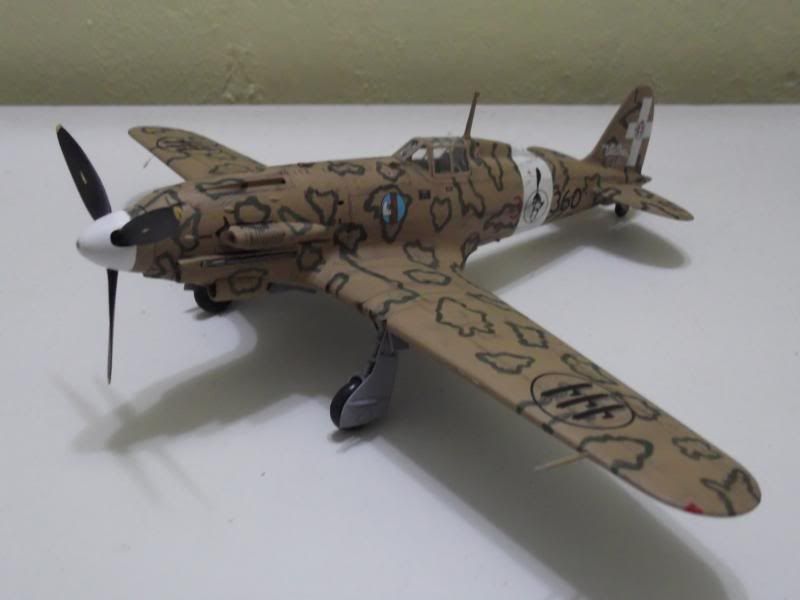
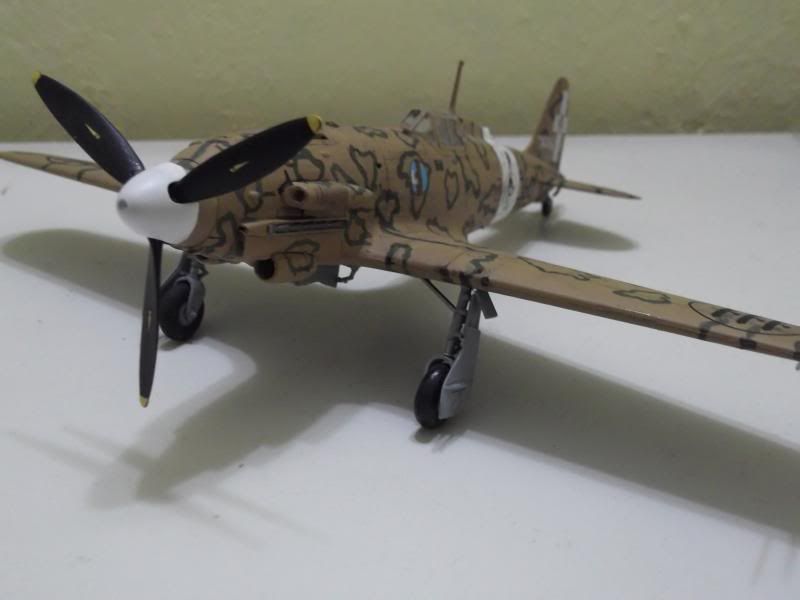
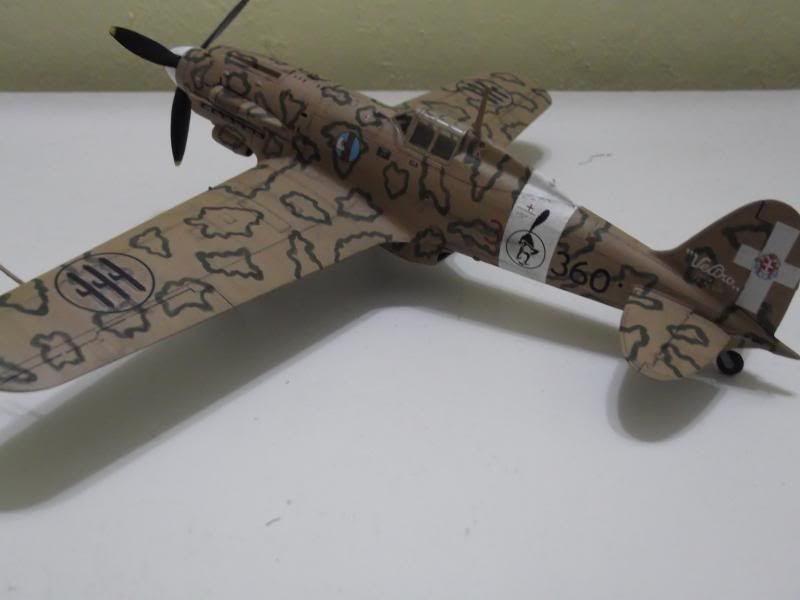
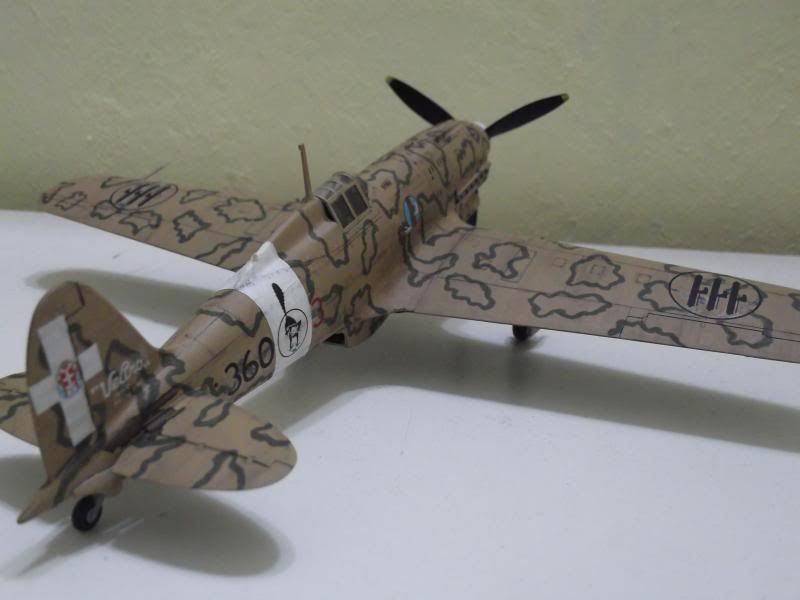
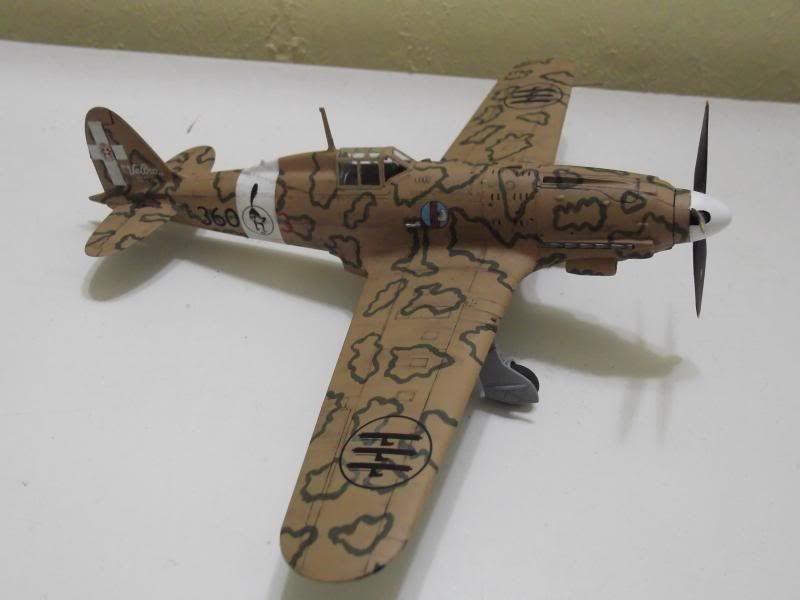
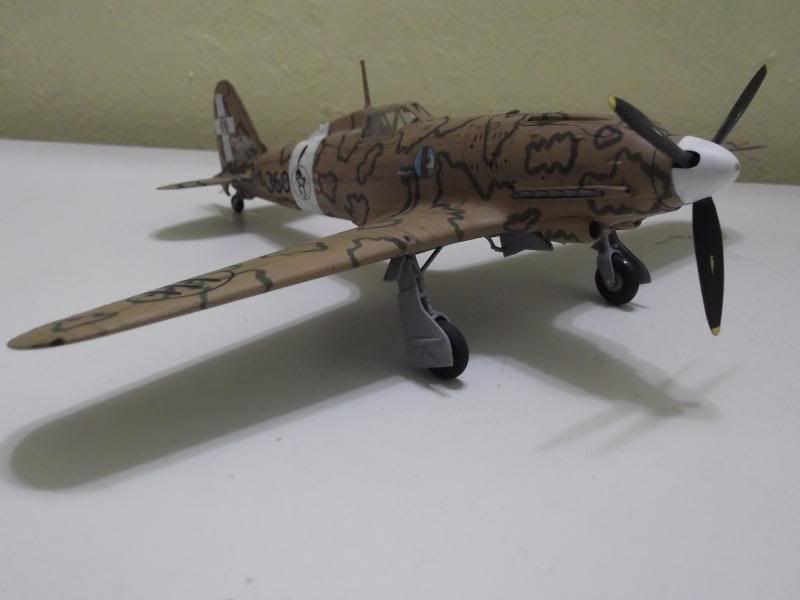
Hasegawa provided markings for two planes : a Veltro belonging to 360ª Squadriglia, 155° Gruppo, 51° Stormo and the other is from 88ª Squadriglia, 6° Gruppo, 1° Stormo. Hasegawa however got the illustrations reversed in the instructions - the pouncing cat insignia (51° Stormo) is marked as 1° Stormo and the Archer insignia of 1° Stormo as the 51° Stormo! Both marking options are in Nicchiola Chiaro tops and Grigio Azzurro Chiaro bottoms with Verde Oliva Scuro 'smoke ring' pattern. I first painted the bottom using a mix of Tamiya XF-66 Light Grey and XF-2 Flat White. The upper colour was painted using Tamiya XF-59 Desert Yellow. The 'smoke ring' patterns were painted using Tamiya XF-67 NATO Green. There is one reminder when painting though : do not trust the instructions 100%. The smoke ring patterns are exactly that : irregular ring shapes all around the upper fuselage and wings. Hasegawa's instructions however shows some apparently meandering pattern especially around the engine cowling and wing roots! The wing guns were represented by just two raised detail and should be replaced with hypodermic needles or plastic rod. Since I do not have any of the items, I simply paint it Flat Black and 'metalized' it with 2B pencil.
For the markings I chose the 51° Stormo for the simple reason that it has a cat in its insignia (I am a cat lover myself). Hasegawa again erred in its instructions - the red numeral 3 identifying the individual aircraft should always be forward of the fuselage ID band whilst the instructions had the '3' at the rear of the band for the starboard side. I also had to cut off two digits from the Roman numeral III and turn it into a 'I' for the stencils at the vertical stabiliser, as this model is of a Serie I aircraft.
Finishing
The remaining parts - landing gears and their doors, aerial, exhausts, pitot tube, canopy and the propeller - were fitted at this stage. The exhausts however looked quite shallow. As for the aerial, it was actually more suited for serie III aircraft as the serie I aircraft were fitted with C.202-style antenna. Humphhh, should've kept the aerial from my Folgore built! The entire model was then subjected to a sludge wash and everthing was sealed off with Tamiya TS-80 Flat Clear.Conclusion

No comments:
Post a Comment